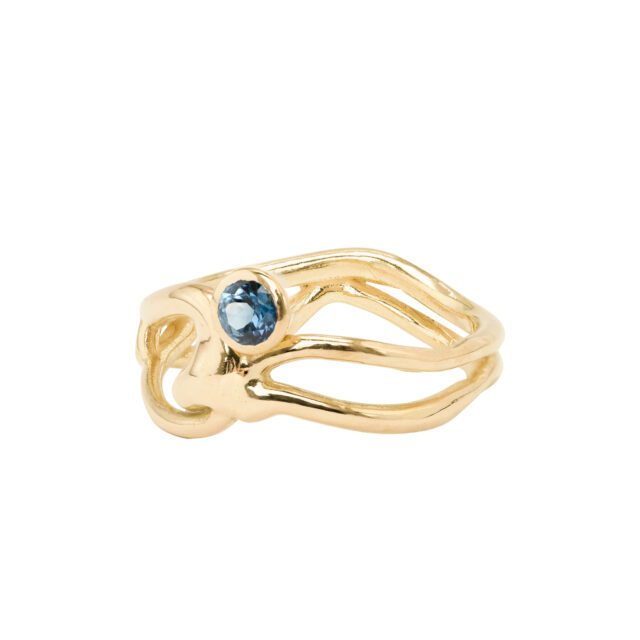
Today I promised to give you a behind-the-scenes look of the creation of a piece I posted yesterday on Instagram: an engagement ring which happens to involve the September birthstone: sapphire!
This one is Australian, and – like many Australian sapphires – is pleochroic and has very clearly two colours: blue and green. I happen to love these, as does the couple who now have this ring.
Most of the work happens before a stone is ever set. But when that time comes…
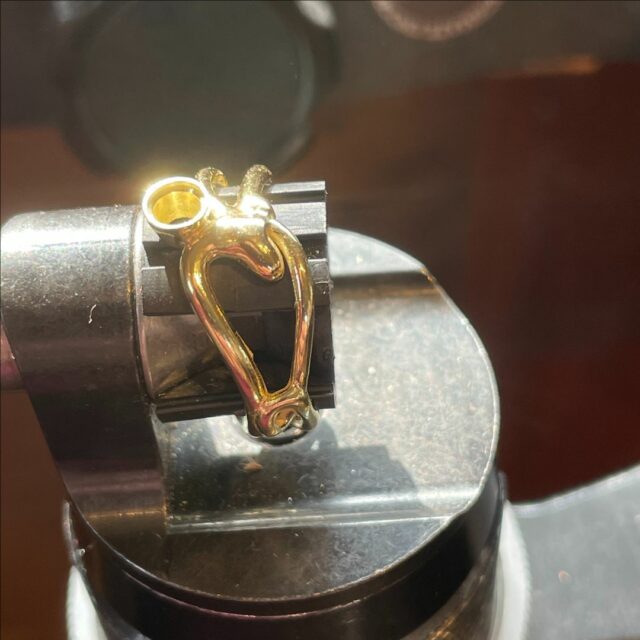
I’ll let you in on a secret: when I first set a stone, I secure the stone with the tiniest slice of masking tape. Just to make sure it doesn’t jump, when I first start to push the bezel over with my setting tool.
I know that seems silly. But trust me: it works!
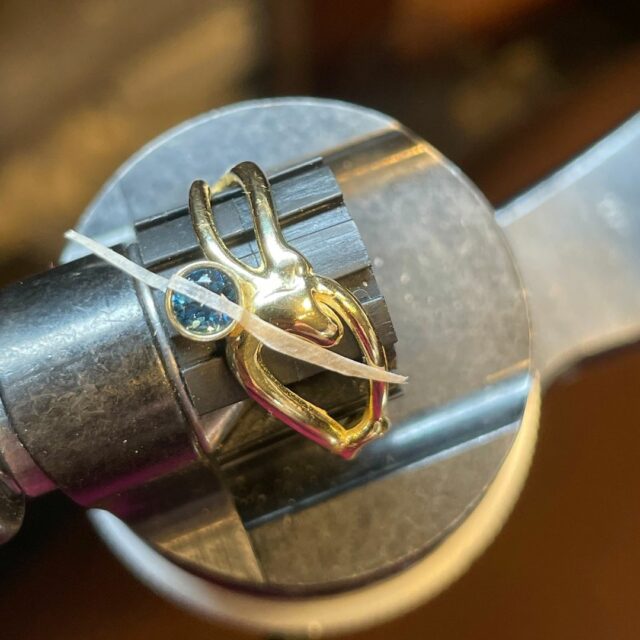
Then I secure all four corners gently, always in diagonals, constantly checking the stone table (the flat part at the top of the stone) to make sure it hasn’t shifted. At first it’ll look like an octahedron:
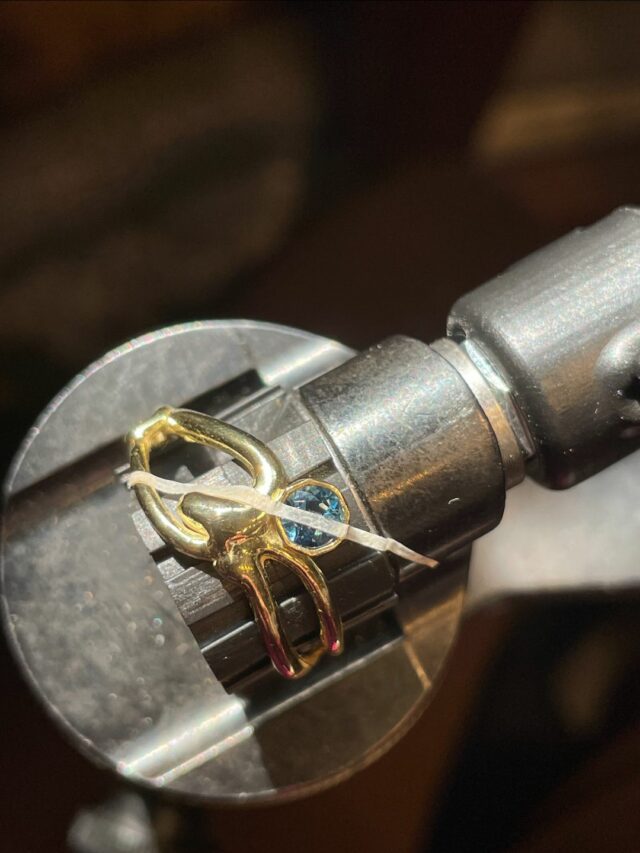
Only when the stone is securely in place, does the masking tape come off, and I complete several rounds of gently but firmly securing the stone in place.
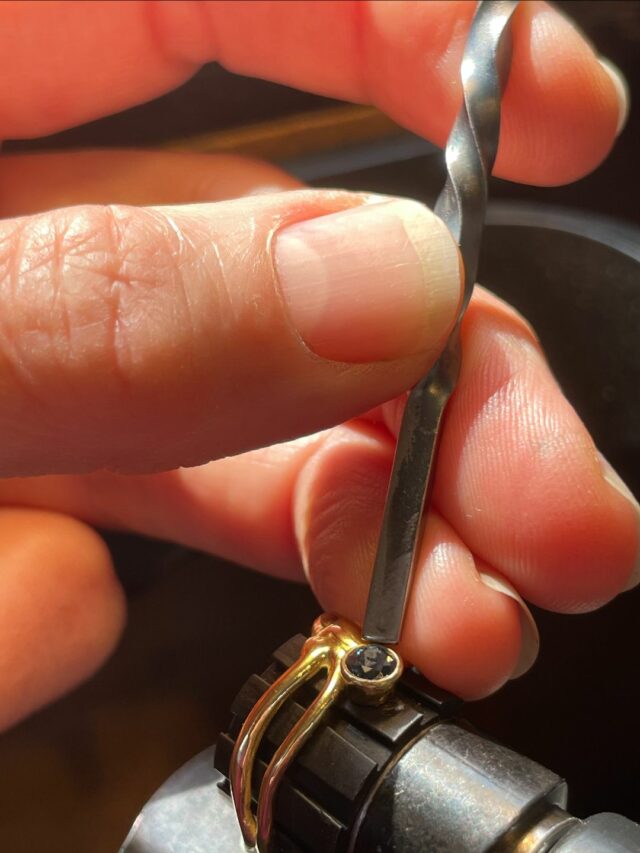
Many jewellers set with power tools similar to a Dremel. But I prefer the old-fashioned way with my hand-forged setting tool and my setting hammer.
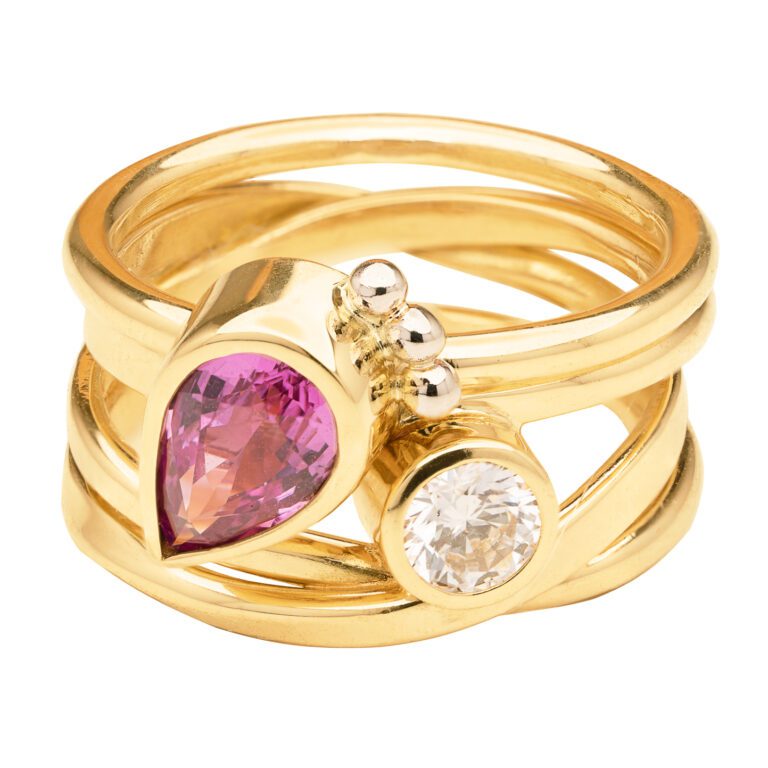
After a final polish, the ring is ready to present:
Can you imagine how thrilling it is to go through this whole process with one part of a couple – having the initial conversations, talking about her, and what binds them. Looking at different examples and ideas, and then finding the right solution.
Sometimes the hardest part is waiting to hear about when he presented the ring and asked the question!
She said YES!
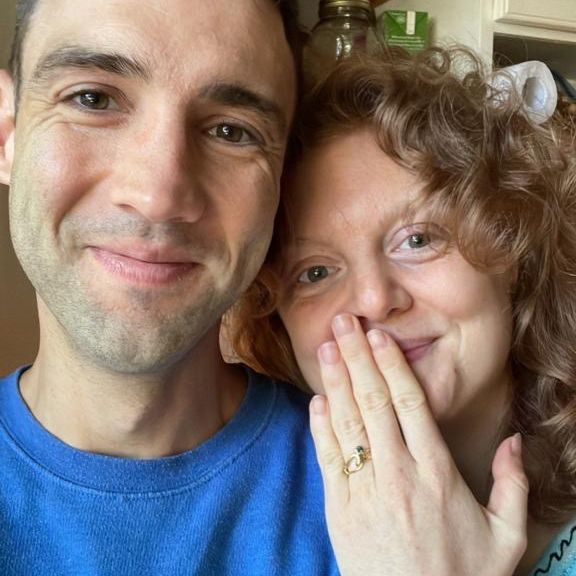
Don’t you just love that photo? I am so glad they let me share it.